......................................................
5. E-Textiles and Wearables I#
This week, at Fabricademy Amsterdam, I got a peak of E-textiles, what they are, and how to built them.. The introduction was given by Liza Stark, and later on we got a great review on the subject by Emma. Although it’s not my main interest and field in innovativ Fashion & Technology, the subject seemed intriguing and fun. I still wanted to learn more about Smart textiles !
So what is E-textiles ?#
E-textiles are smart fabrics enabling digital components and electronics to be embedded. E-textiles are also known as smart clothing, smart garments, electronic textile and smart fabrics. According to Pailes-Friedman, smart fabrics are Revolutionary because they are capable of doing many things that traditional fabric can not e.g It can be used for communication, can transform its shape and have the ability to conduct energy.
E-textiles and the future of Wearable technology ?#
Like smartphones, e-textiles represent another way for us to change the way people interact with technology, and indications are that despite limited success to date, they are likely to be a key platform for future wearables. In the next seven years, it is possible that wearable technology integrated into clothing will become just as indispensable to us as smartphones are now and we will simply expect our everyday clothing will monitor and track our activities, health and location, be responsive to our actions and environments, and able to connect us seamlessly with a much broader ecosystem of smart devices.
For those who haven’t yet considered the potential impact of e-textiles, perhaps now would be a good time to join the conversation.
Full article of Wearable technology !
Introduction#


Here we learned to create a circuit, lightning up a LED with a digital and analog read on Arduino.

And we saw to write and download these codes into the circuit.
Wearable Glove#
Inspiration#
I found my inspiration by navigating through Pinterest and came across these :
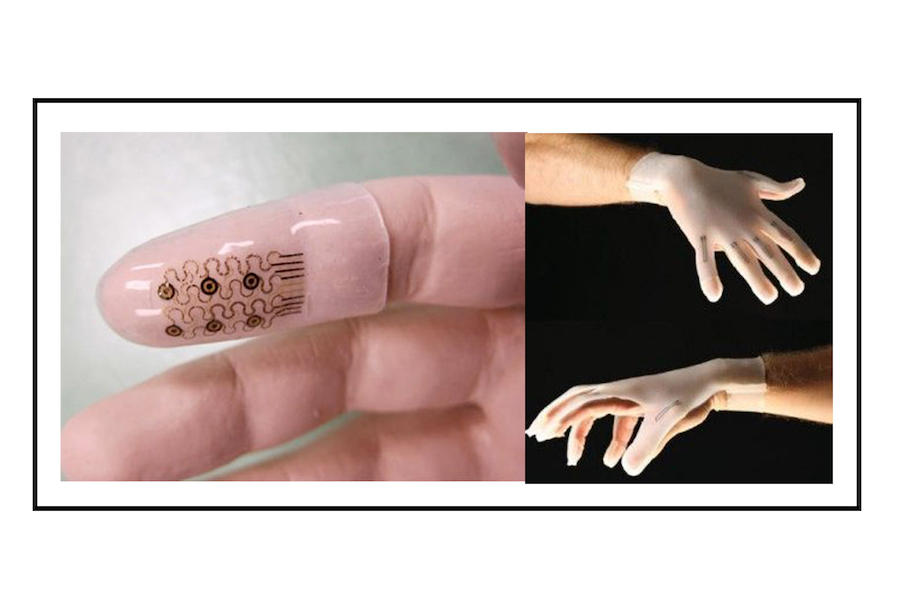
Basically, my idea is to create a E-glove with a LED being connected to a touch-sensor, and second LED would be connected to a switch. As for the conductive touch that’ll be used for the sensor, I’ve decided to create a fingerprint design in copper tape.
Steps#
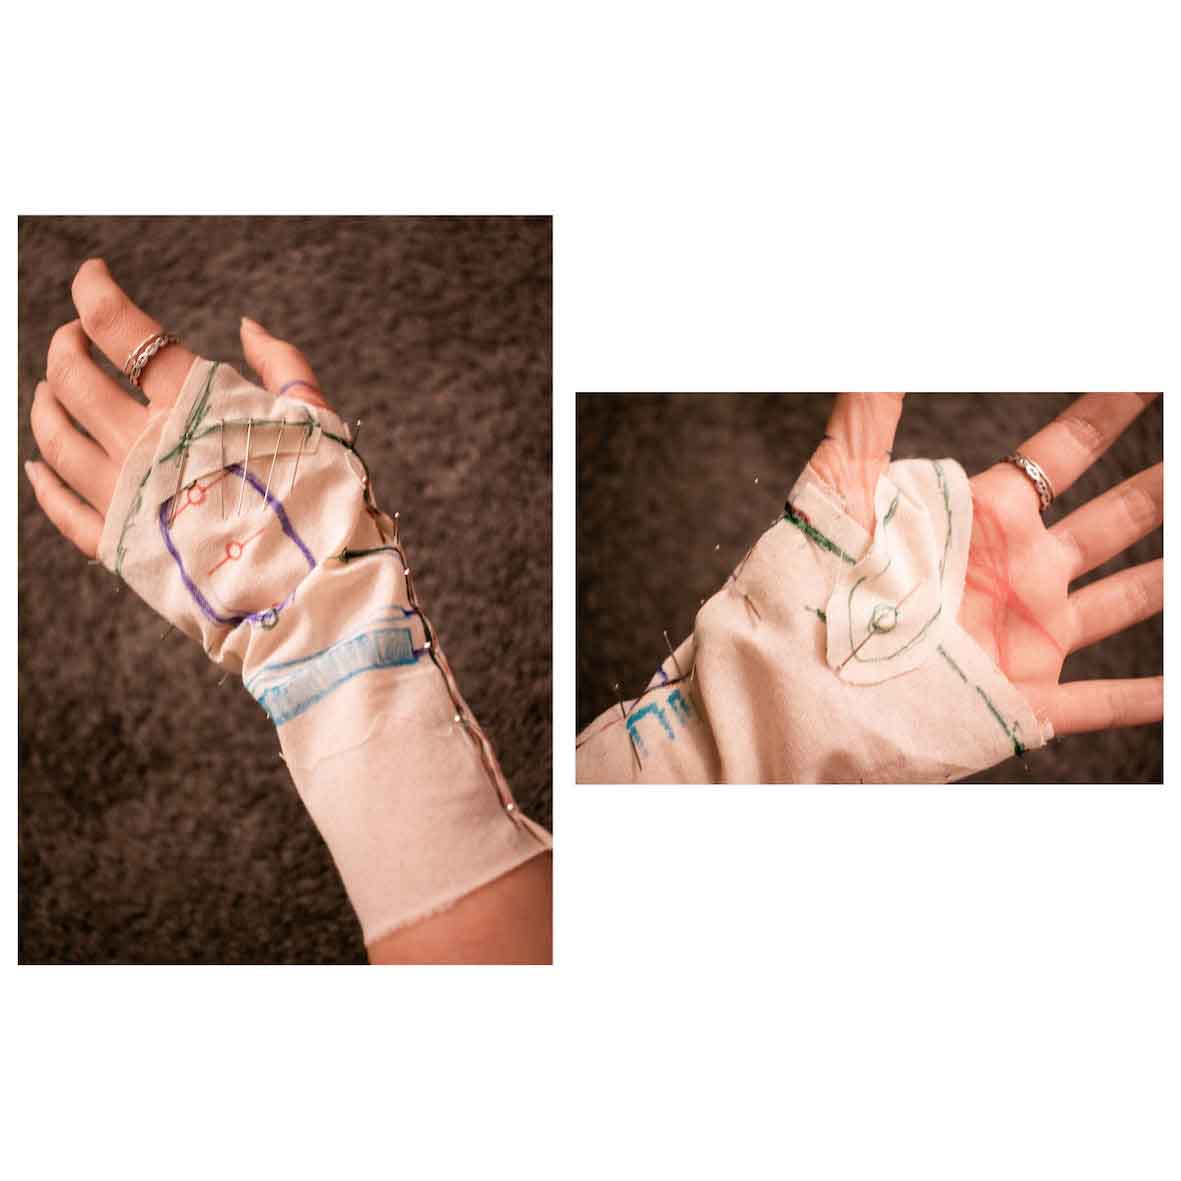
First of all, I draped calico on my left hand to get the patterns for the glove. Moreover, I had to sketch the circuit on the calica to have a brief idea of the circuit-design.
Second step was to cut the pieces onto fabric and assemble it on one side already. My choice of material here : Soft TPU ( I got second hand as leftovers ).
(photo of fabric to come)
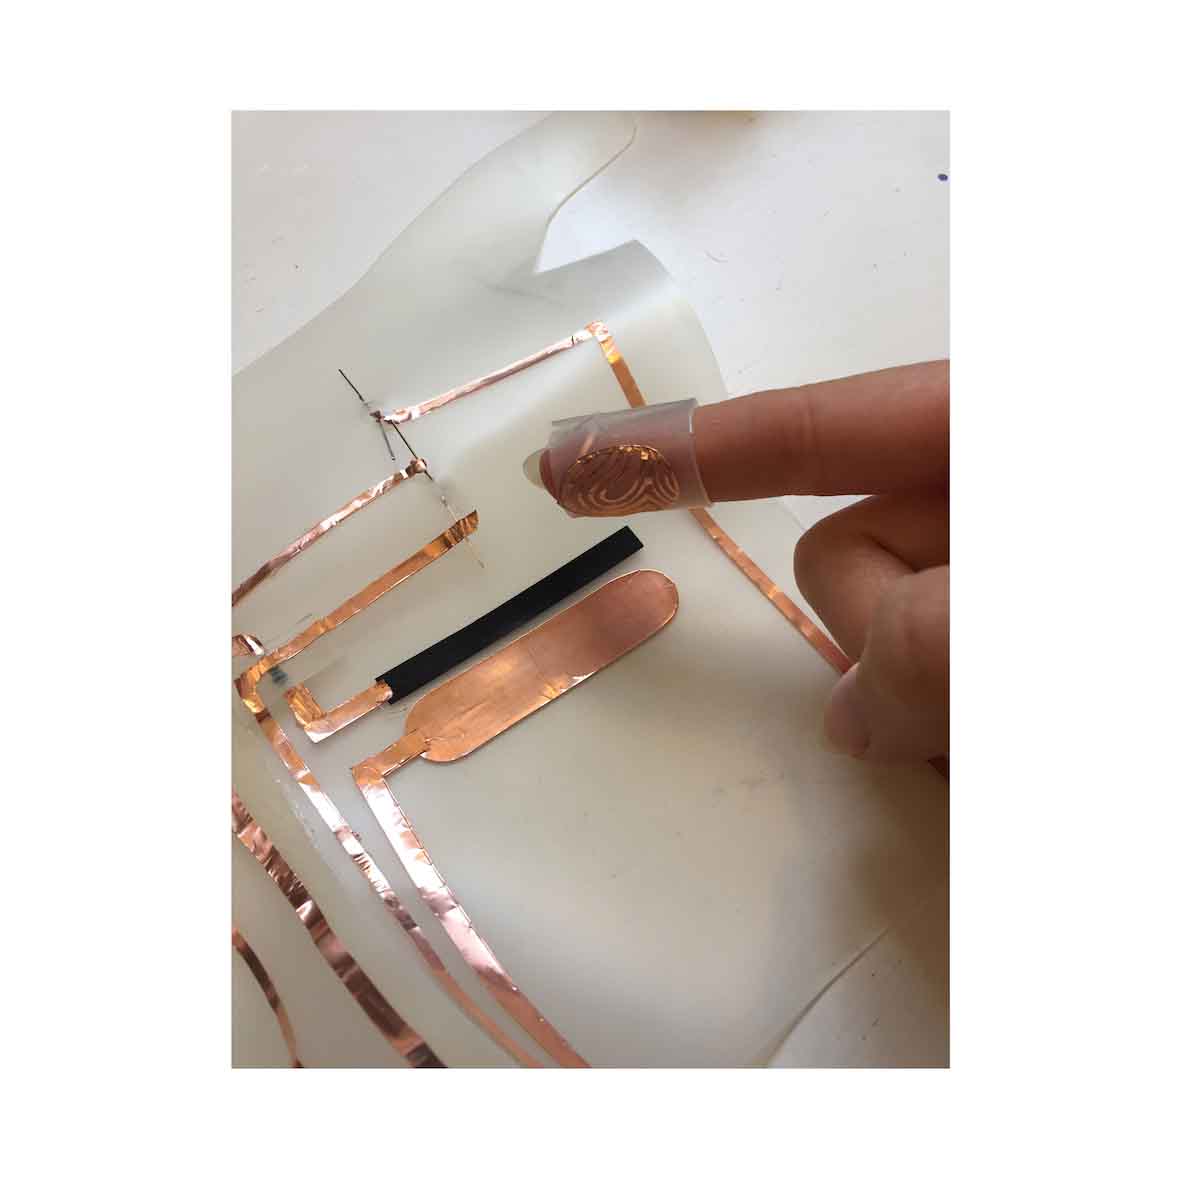
The layout design of the circuit was then tested on illustrator while drawing on a picture I took from the calico-sketch. Right after, I created the file for the Vinyl-cutter and the pieces were then cutted on copper tape.

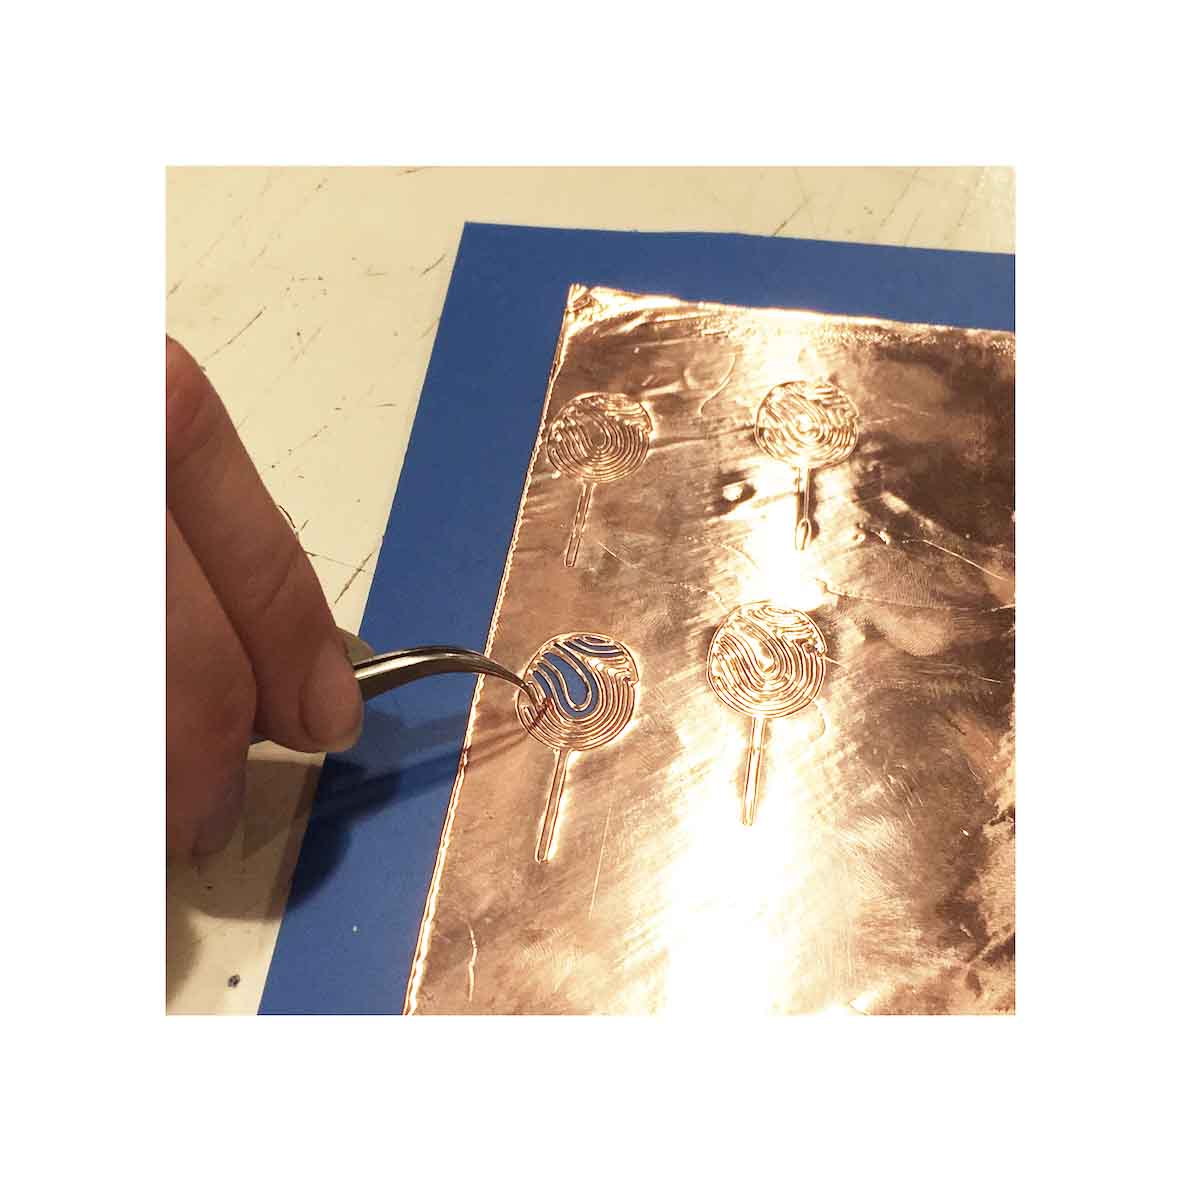
As for the fingerprint, the design was also made on illustrator and then cut on copper tape with the vinyl-cutter. It got a little tricky to find the right settings on the vinyl-cutter as it was quite challenging to cut those thin and close lines of the design. Luckily, Cecilia helped me out lot and was finally able to find the fitting settings.

Third step, I started to create the circuit on the fabric, and tried the touch sensor in the meantime too.
Fourth step consisted on adding the LEDs and the right resistors by soldering them on the copper tape circuit.
In this case I used :
- 10K resistor for the sensor
- 200 Ω for the LEDs
- 2 white LEDS
Soldering :


Pattern files :
Lights on#

Code Example#
Use the three backticks to separate code.
// the setup function runs once when you press reset or power the board
void setup() {
  // initialize digital pin LED_BUILTIN as an output.
  pinMode(LED_BUILTIN, OUTPUT);
}

// the loop function runs over and over again forever
void loop() {
  digitalWrite(LED_BUILTIN, HIGH);   // turn the LED on (HIGH is the voltage level)
  delay(1000);                       // wait for a second
  digitalWrite(LED_BUILTIN, LOW);    // turn the LED off by making the voltage LOW
  delay(1000);                       // wait for a second
}